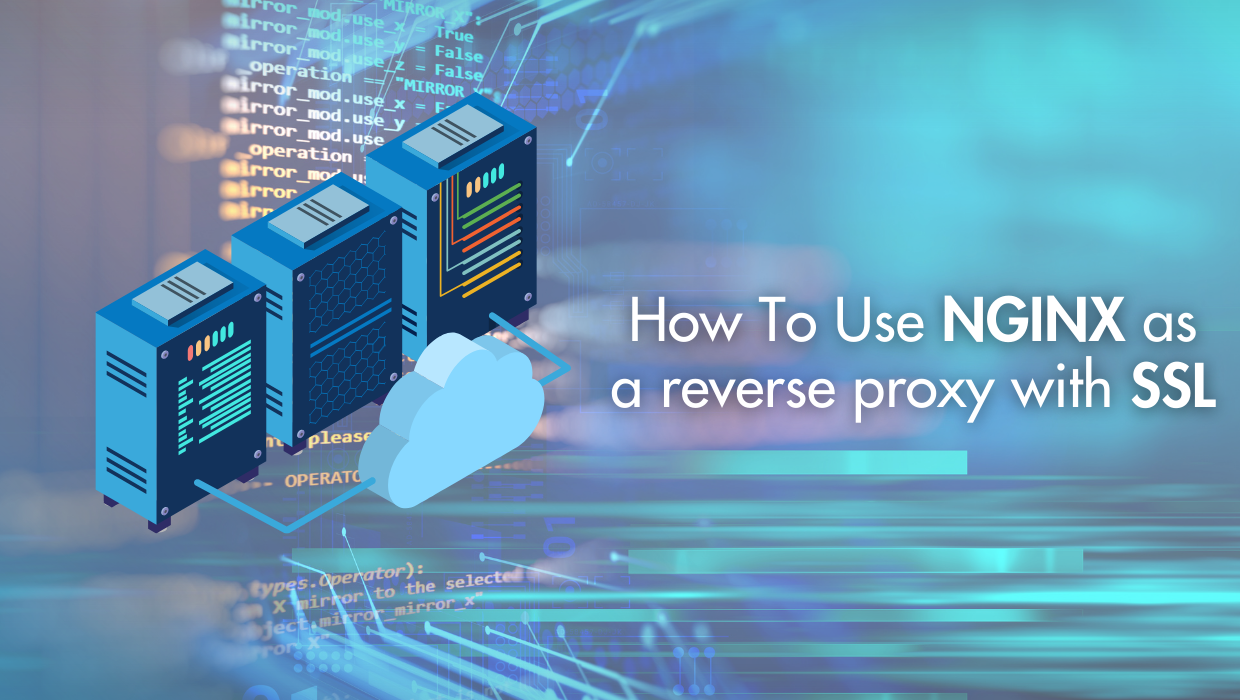
How To Use Nginx As A Reverse Proxy With SSL (Tutorial)

Nginx is a powerful tool. It allows you to serve multiple apps, websites, load-balance applications and much more. All that flexibility is powered by a relatively simple configuration system that uses nearly-human-readable configuration files.
Why use Nginx as a reverse proxy?
It may not be directly obvious why you might need a reverse proxy, but Nginx is a great option for serving your web apps-- take, for example, a NodeJS app.
By default, it runs locally on a machine and listens on a custom-defined port. Usually, this is port 3000 by default and is accessed by typing something like http://YOUR-DOMAIN:3000
.
But Nginx lets you serve your app that is running on a non-standard port without needing to attach the port number to the URL. It even lets you run different apps on each subdomain, or even in different sub-folders!
Cool, right?
This guide will demonstrate how to utilize Nginx to serve a web app, such as a NodeJS App, using SSL Encryption.
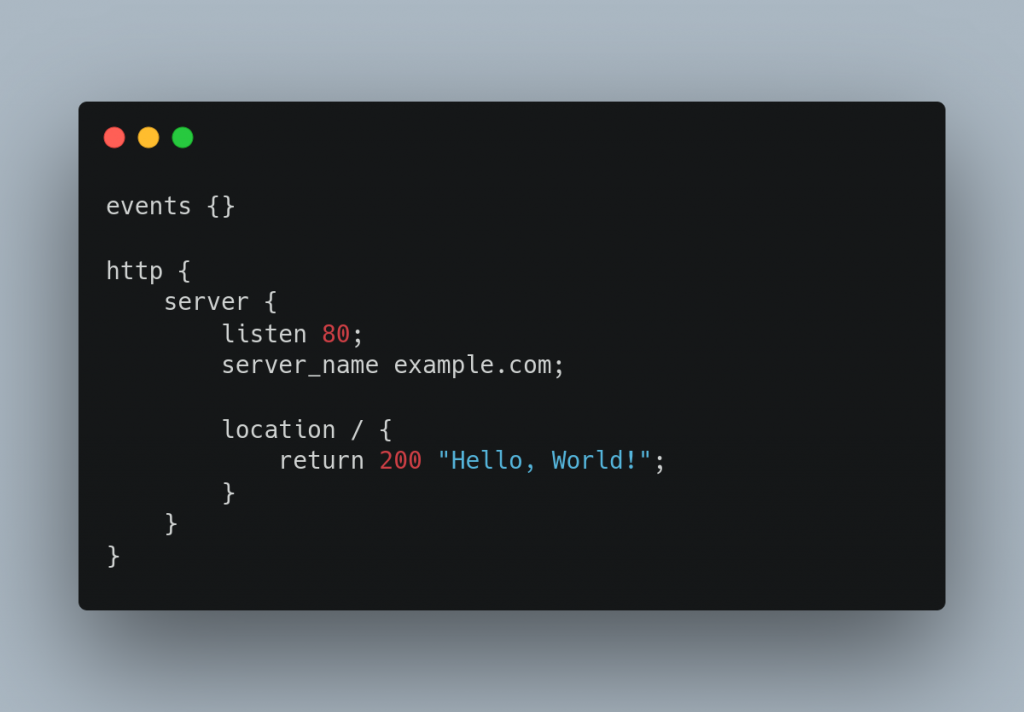
Prerequisites
This guide will assume a general understanding of using a Linux-based system via command line, and will further assume the following prerequisites:
- Ubuntu 18.04
- Non-Root User
- App Running on Custom Port (this guide assumes port 3000)
- DNS A Name Record for Domain Used
- SSL Certificate For the Domain
Nginx Configuration
The default configuration for Nginx on Ubuntu 18.04, when installed using the Nginx-full package option, is to look for available sites at the following location:
/etc/nginx/sites-available/
This location will have a default file with an example Nginx virtual host configuration. Instead, we will be creating a new site using an empty file that we can utilize. Once logged in as your non-root user, issue the following command to create the new configuration file:
sudo touch /etc/nginx/sites-available/YOUR-DOMAIN
Be sure to replace YOUR-DOMAIN with your domain you plan to associate with your app.
Next, we will modify the file so that it does what we need it to. I will be using vim in this guide, but feel free to use whatever text editor you're most comfortable with:
sudo vim /etc/nginx/sites-available/YOUR-DOMAIN
The next few steps include adjusting the sites-available/YOUR-DOMAIN file you created just before, so be sure to adjust where indicated so that it functions as desired:
This Section tells Nginx to listen on port 80 for your domain and rewrites the request to HTTPS for us
server {
listen 80;
server_name YOUR-DOMAIN www.YOUR-DOMAIN; # Edit this to your domain name
rewrite ^ https://$host$request_uri permanent;
}
This is all the configuration declarations that help SSL Function.
server {
listen 443 ssl;
server_name YOUR-DOMAIN;
# Edit the above _YOUR-DOMAIN_ to your domain name
ssl_certificate /etc/letsencrypt/live/YOUR-DOMAIN/fullchain.pem;
# If you use Lets Encrypt, you should just need to change the domain.
# Otherwise, change this to the path to full path to your domains public certificate file.
ssl_certificate_key /etc/letsencrypt/live/YOUR-DOMAIN/privkey.pem;
# If you use Let's Encrypt, you should just need to change the domain.
# Otherwise, change this to the direct path to your domains private key certificate file.
ssl_session_cache builtin:1000 shared:SSL:10m;
# Defining option to share SSL Connection with Passed Proxy
ssl_protocols TLSv1 TLSv1.1 TLSv1.2;
# Defining used protocol versions.
ssl_ciphers HIGH:!aNULL:!eNULL:!EXPORT:!CAMELLIA:!DES:!MD5:!PSK:!RC4;
# Defining ciphers to use.
ssl_prefer_server_ciphers on;
# Enabling ciphers
access_log /var/log/nginx/access.log;
# Log Location. the Nginx User must have R/W permissions. Usually by ownership.
This is the juicy part of the config file, handing off relevant data to our back-end app running on port 3000
Nothing should need to be changed here unless port 3000 is not the port you're using.
Furthermore, if you're using a socket to serve your app (PHP comes to mind), you can define a UNIX:.sock location here as well
location / {
proxy_set_header Host $host;
proxy_set_header X-Real-IP $remote_addr;
proxy_set_header X-Forwarded-For $proxy_add_x_forwarded_for;
proxy_set_header X-Forwarded-Proto $scheme;
proxy_pass http://localhost:3000;
#proxy_pass unix:/path/to/php7.3.sock # This is an example of how to define a unix socket.
proxy_read_timeout 90;
}
} # Don't leave this out! It "closes" the server block we started this file with.
Save and exit the YOUR-DOMAIN file. If you're using vim, hit Esc to exit INSERT mode, then type :wq
and hit enter to save and exit the file.
To make the file active, we will need to link the file in the sites-available folder to a location within the sites-enabled folder. Again, change YOUR-DOMAIN here with the actual name of the file you created earlier.
ln -s /etc/nginx/sites-avaialable/YOUR-DOMAIN /etc/nginx/sites-enabled/YOUR-DOMAIN.conf
Let's now test the configuration file.
sudo nginx -t
If the test is successful, you'll see this output:
nginx: the configuration file /etc/nginx/nginx.conf syntax is ok
nginx: configuration file /etc/nginx/nginx.conf test is successful
Now that we know it's going to work as expected, issue the command to restart the Nginx service
sudo systemctl restart nginx
# OR #
sudo service nginx restart
Both commands perform the same task, simply preference decides your method here. I can safely say I use both and in no specific priority.
You should now be able to launch your app (if it wasn't running already) and visit YOUR-DOMAIN in a browser, assuming the DNS is correct.
Congratulations-- you've now set up a reverse proxy using Nginx. And your app will now be showing to the world with HTTPS enabled!
Like what you saw? Subscribe to our weekly newsletter.
You're subscribed!