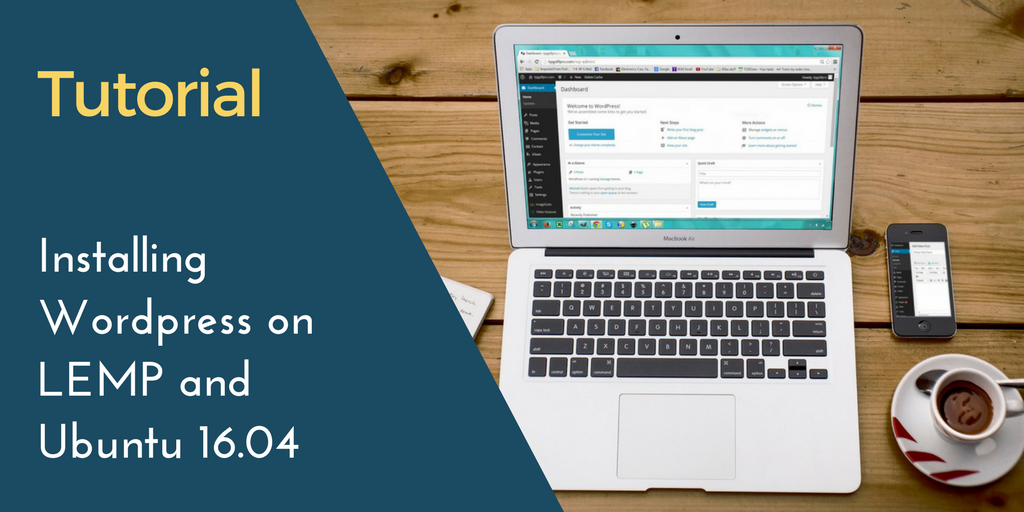
If you’ve been following along with our previous tutorials on setting up SSH authentication and then installing a basic LEMP (Linux, Nginx, MySQL, PHP) stack on Ubuntu 16.04, you’re completely set up start putting content online.
Wordpress is a popular choice for those who want to set up a blog, an online portfolio, or even a basic ecommerce site (with the help of some plugins). Because of its popularity, Wordpress has a strong support and developer community, with plenty of more specific resources and tutorials on different customizations.
For this tutorial, we’ll cover the configuration necessary to loop Wordpress in with MySQL, Nginx, and your PHP implementation, up to the point where you perform the “Famous 5-Minute Install.”
Prerequisites
- A regular (non-root) account with sudo privileges. See our SSH keys tutorial for more information.
- A functioning LEMP stack. See our LEMP tutorial for details.
Step 1: Setting up MySQL
Because Wordpress uses MySQL to store information about users and posts, you need to configure a database, followed by a user that will access that database. Start by logging into the MySQL root account.
$ mysql -u root -p
Then, create a database for Wordpress to connect to. You can use whatever naming convention you would like instead of wordpress.
mysql> CREATE DATABASE wordpress;
Query OK, 1 row affected (0.00 sec)
Next, create the user that will access the information inside of this new database. Feel free to change the wordpressuser to something that fits your needs. A strong, secure password is important here.
mysql> CREATE USER wordpressuser@localhost IDENTIFIED BY "<b>password<b>";
Query OK, 0 rows affected (0.00 sec)
Then, you need to give this new user access to the database you created.
mysql> GRANT ALL PRIVILEGES ON wordpress.* TO wordpressuser@localhost;
Query OK, 0 rows affected (0.00 sec)
You’ll need to flush the privileges so that you can connect Wordpress to the new database.
mysql> FLUSH PRIVILEGES;
Query OK, 0 rows affected (0.00 sec)
Then exit the MySQL shell.
mysql> exit
Step 2: Configuring Nginx for Wordpress
You’ll now need to configure Nginx to deliver traffic to the future Wordpress installation. Start by creating a new server block for Nginx.
$ sudo nano /etc/nginx/sites-available/wordpress
Then you can paste the following into this new file and save it. If you have a domain name for this project, be sure to change the configuration at the server_name line. If not, you can comment it out by placing a # in front of the line: # server_name domain.com.
server {
  listen 80;

  root /var/www/wordpress;
  index index.php index.html index.htm;

  server_name domain.com;

error_page 404 /by subscribing to our newsletter.
A note about tutorials: We encourage our users to try out tutorials, but they aren't fully supported by our team—we can't always provide support when things go wrong. Be sure to check which OS and version it was tested with before you proceed.
If you want a fully managed experience, with dedicated support for any application you might want to run, contact us for more information.


